Thursday, May 29, 2014

The certain death of an albino corn seedling

I started some popcorn for my garden earlier this May and happened upon an albino corn!  Not producing any chlorophyll with which to photosynthesize, the seedling died a few days after this picture was taken.  This provides interesting insight into how far the energy stored in the seed of the corn will take the seedling.  With only the energy from its seed, and no energy from photosynthesis, the corn will grow to as big as you see the albino corn in this picture.  While the seedling can uptake some nutrients from the soil, there is no source of C6H1206, (glucose).  This 1955 article by Heinz Seltman describes the fate that awaited my albino corn:  "After 12 days the growth tips of the older leaves of the albino seedlings showed necrotic areas.  Rates of growth of the albino plants decreased from 12 to 15 days and death occurred approximately 20 days after zero time."  I had already removed the plants that I needed from the flat so these seedlings continued to grow undisturbed after this picture was taken.  Sure enough the albino seedling met its inescapable fate. It is currently little more than a crispy whisp of dead plant tissue while it's compatriots are still alive in the flat.  

Interestingly just because the albino plant produces no chlorophyll does not mean it cannot sense light.  This picture from the previously mentioned Seltman article shows how albino corn grown in the dark still exhibits etiolation:
An external file that holds a picture, illustration, etc.
Object name is plntphys00381-0069-a.jpg


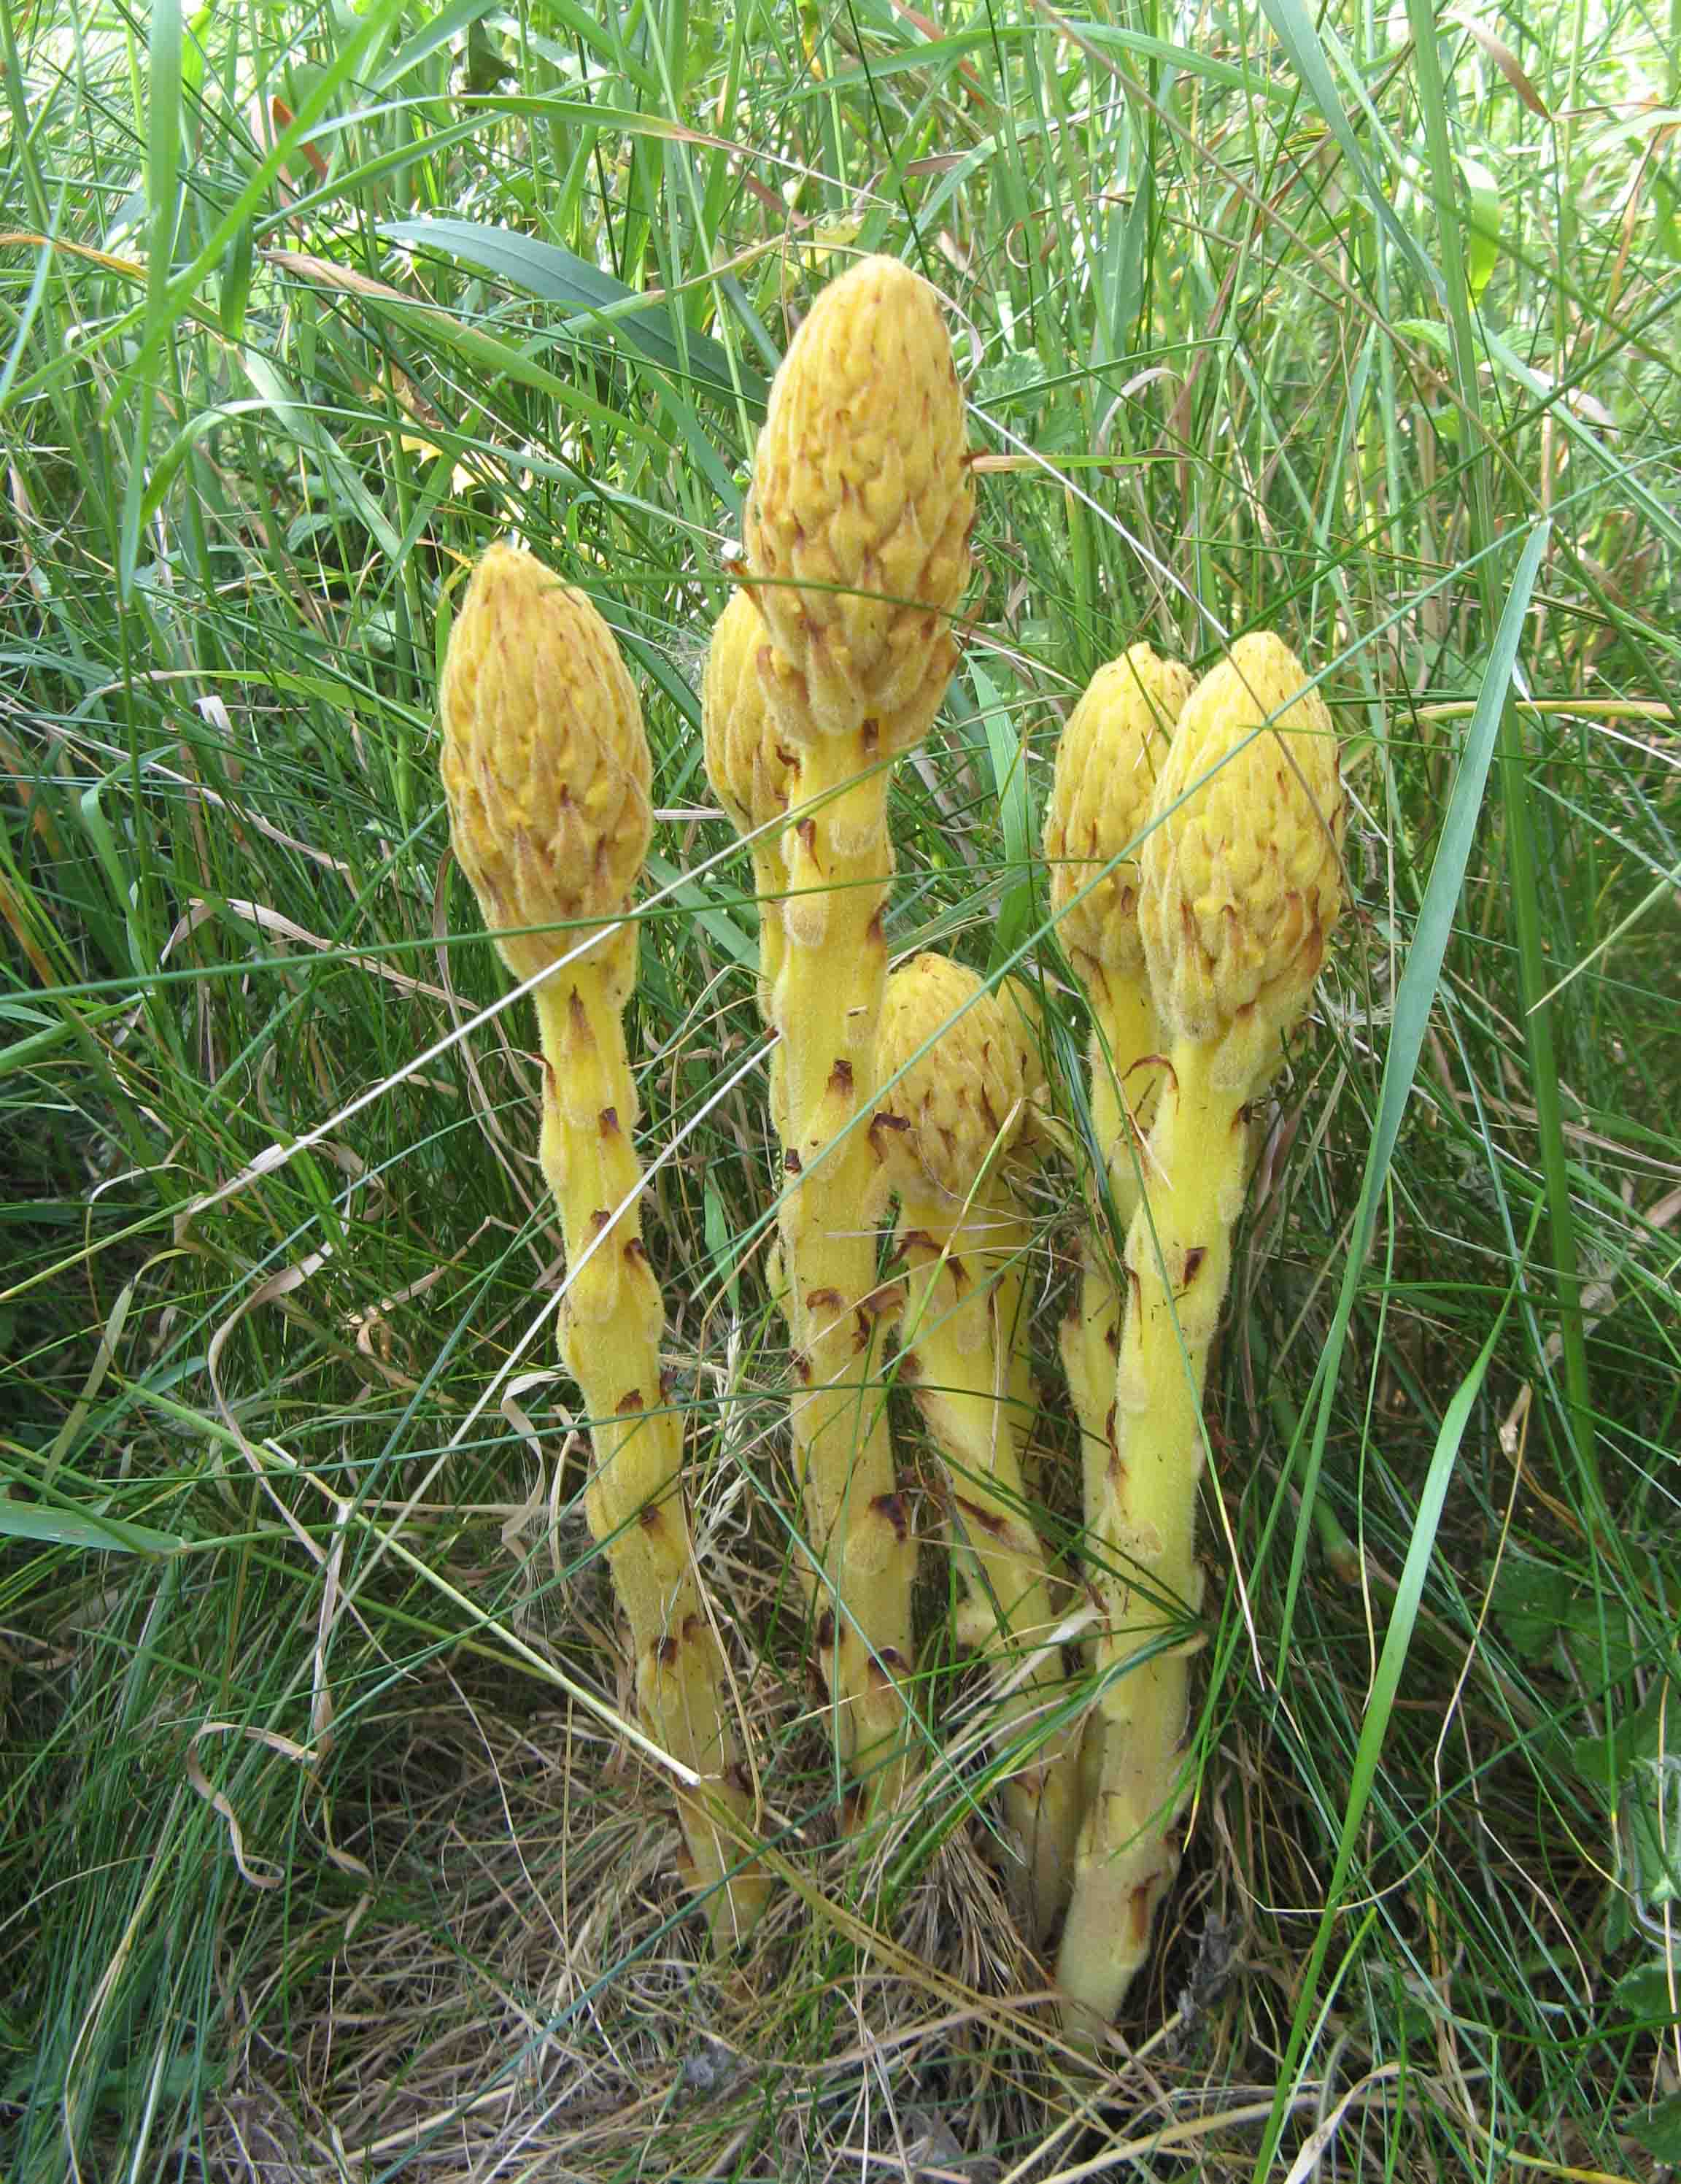
While for corn, albinism means certain death, there are some species of plants which produce no chlorophyll and lead long healthy lives.  They survive via parasitism.  Check out this happy albino, Knapweed Broomrape (Orobanche elatior):


Even more spectacular looking is Monotropa uniflora:

Credit Gary Munroe


Wednesday, May 14, 2014

Bulk Density Sampling - This Time with Professional Equipment!

A while back I posted how to take bulk density samples with household items in Bulk Density Showdown. If you're wondering what bulk density even means, check out the post. The coring cylinder used in the DIY bulk density post was a simple corrugated aluminum can.  There are some drawbacks to this as the depth of the sample is limited by the short height of the can.  What's even more problematic is that the can will sometimes crumple when being hammered into the soil if the soil's bulk density is too high. The aluminum can does have the advantage of being free though!

I thought it would be nice to show how the process is done with the equipment that's actually designed for the process. Below you'll find the basic steps for taking a bulk density sample.

Here are the tools for the job.  A steel coring tube, a plastic top for pounding the coring tube into the soil, a mallet, scissors, and a rod (not pictured) which fits into the hole you see at the top of the tube.

The first step is to remove the biomass from the soil surface where you want to take your sample. Use the scissors to remove an area slightly larger than the area of the coring tube.

Next pound the coring tube into the soil.  This particular coring tube is marked out every 5 cm.  Let's say we want to measure the bulk density of the soil from 0-5 cm.  We'll hammer the tube into the soil until the first measurment line is level with the soil, ie when the tube is 5 cm deep. 


To remove the tube from the soil, insert the metal rod into the holes at the top of the tube.  Rotate the tube while pulling up.  It's important to be gentle while removing the tube lest the soil sample inside come lose and fall out the bottom of the tube.

Dump the soil from the coring tube into a plastic bag.  Allow the sample to dry completely.  Weigh the soil, then divide this weight by the volume of the 0-5 cm portion of the coring tube.  This is your bulk density.


If you want to then sample the density of the soil at 5-10 cm, put the coring tube back into the hole you have made, being careful that the sides of the hole do not cave in.  The coring tube should sit with the soil level with the 5 cm mark.  Pound the tube into the ground so that the 10 cm mark is level with the soil.  Then repeat the process of removing the tube and putting the sample into a plastic bag.  This will be bulk density of soil from 5-10cm deep.  On this particular tube you can continue sampling in 5 cm increments until 30 cm deep.  Other coring tubes will allow you to sample deeper depths.  For greater accuracy, an augured soil corer can be used.